
A portal is your audience's home page: it lists your public events, with your logo and colour. Anyone can reach it at its InterScribe address, or at your own domain.
Branding, custom domains, portals, email templates · Disponible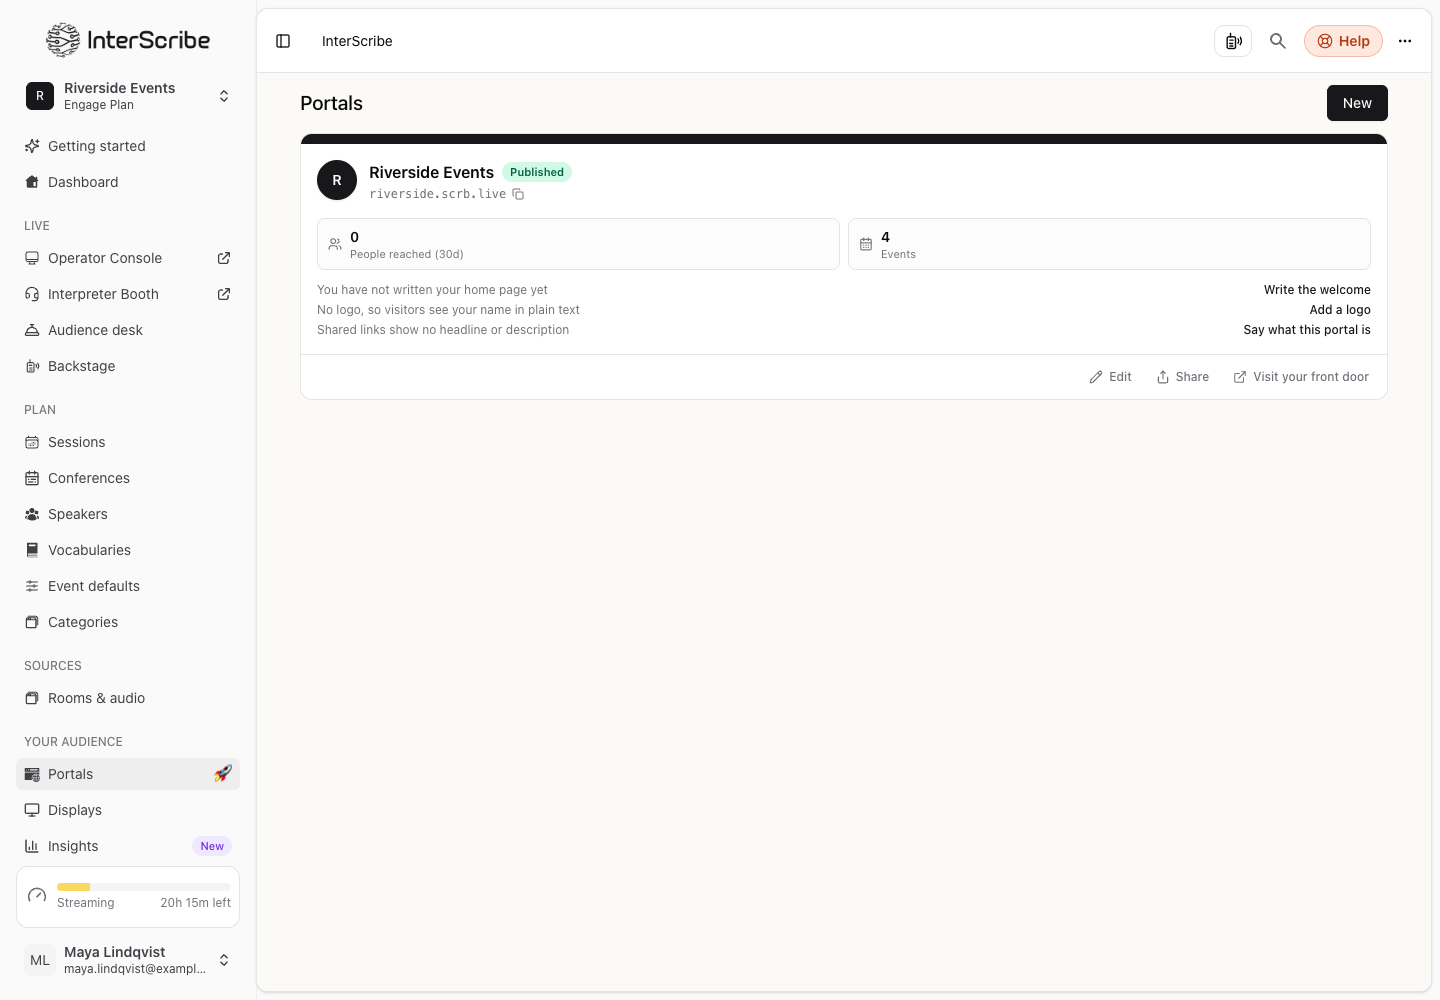
Before you start
- A role that can manage portals.
Make it look like you
- STEP 1Open the portalIn the sidebar, go to Portals and open your portal.
- STEP 2Open Look & addressSelect Look & address. Everything shows in the Live preview before you save it.
- STEP 3Set your brand
Under Brand, add your logo and the favicon (the small square icon in a browser tab), choose an Accent colour for buttons and links, and choose Light or dark.
- STEP 4Set how it looks when shared
Under How it looks when shared, write the Headline and One line about it that appear when someone pastes your link into a chat or a search result, and add an image.
Your workspace's own name, web address and icon are under Settings › Account.
Use your own domain
- STEP 1Enter your domainUnder Your address, enter Your own domain, something like live.example.com, and select Use this domain.
- STEP 2Add the DNS records
Select What to add and add those records at your domain provider. Then select Check again. It can take a few minutes.
- STEP 3Check it workedThe domain shows Working. While it waits, it shows Waiting for DNS; Not set up means the records were not found.
If the page says Your own domain is not available on this workspace. Contact us to set one up., ask us.
Other portal pages
- Pages & links: your welcome, privacy and terms pages, and your own pages.
- Audience: who listened, and in which language. See Analytics.
- Settings: features, naming, and deleting the portal.