
🎧 Overview
For small events or single‑room sessions, the simplest way to stream audio into InterScribe is by using your existing laptop or desktop computer. You can use the Streamer Dashboard (browser-based) or the Desktop Agent (installable app) to send audio directly into a session. This method requires no specialized hardware and is perfect for:
- Pilot projects
- Small classrooms
- Home offices
- House churches or small worship services
The Desktop Agent runs in the background and is included in every subscription tier. It provides greater stability than browser streaming, especially for long events or when browser tabs are accidentally closed.
🪜 Step‑by‑Step Instructions
-
Prepare your hardware
- Use a reliable laptop or desktop. Close unused applications to free system resources.
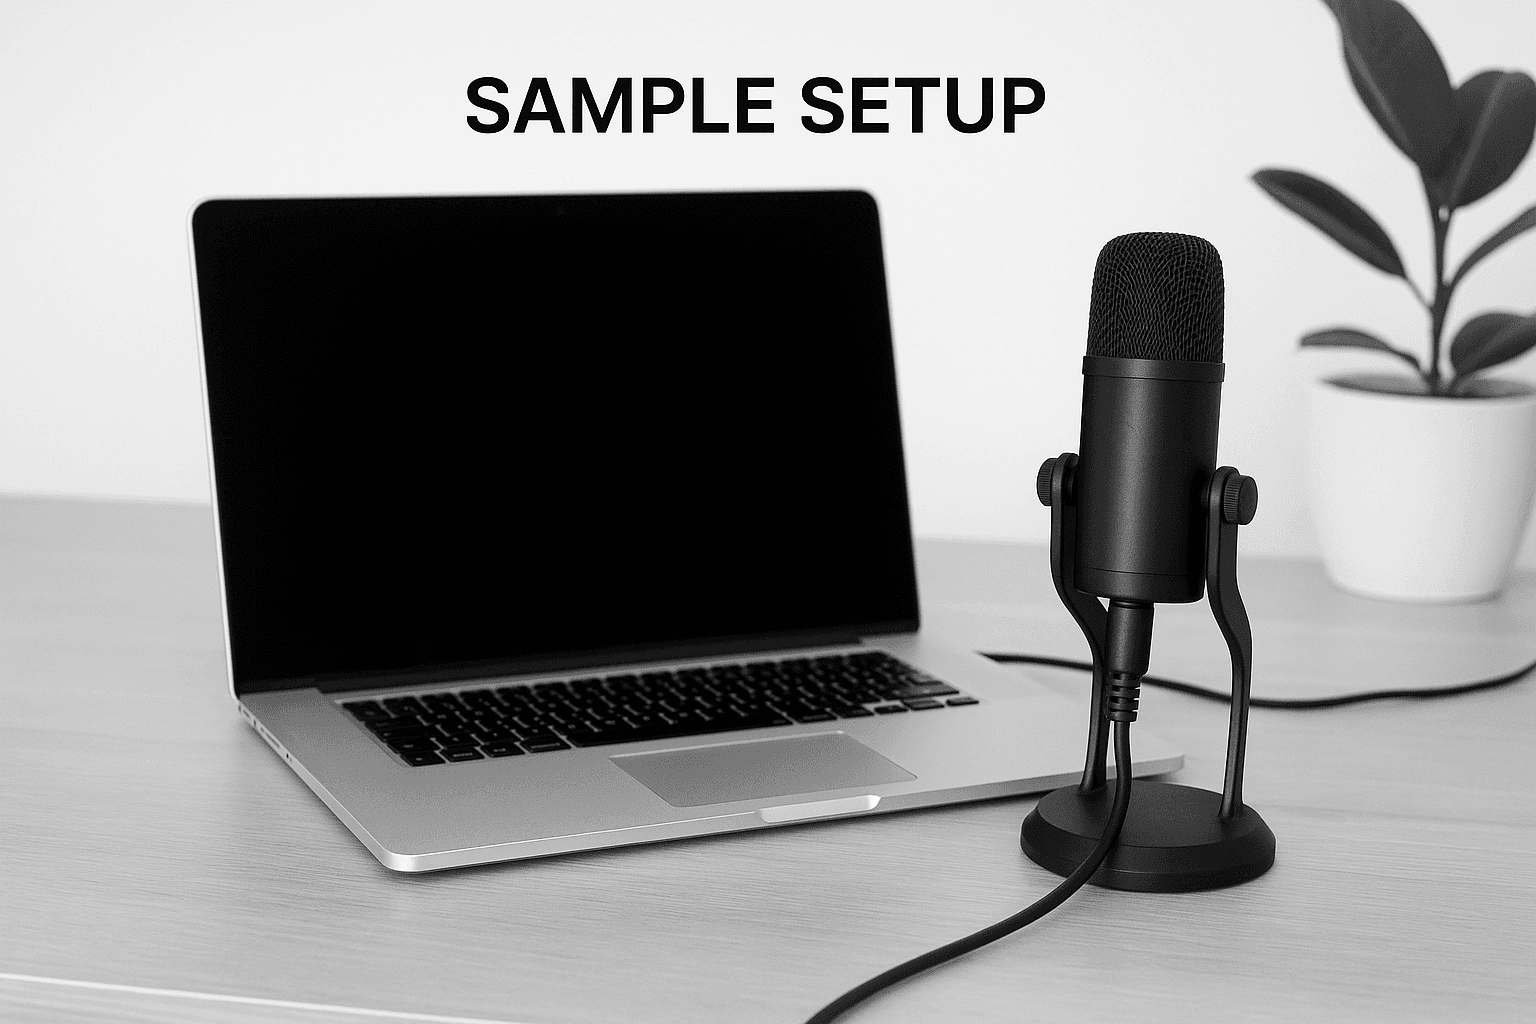
- Plug in a USB microphone or wired headset before launching InterScribe for best results.
-
Create your session in InterScribe
- Log in and click New Session. Provide a title, description, and scheduled time.
- Under Audio & Streaming, keep the default selection (Streamer Dashboard or Desktop Agent) — no AV Channels are needed for this setup.
-
Open the Streamer
- On your session tile, click the Streamer icon.
- If you've installed the Desktop Agent, open it instead. It reconnects automatically if the browser closes or refreshes.
-
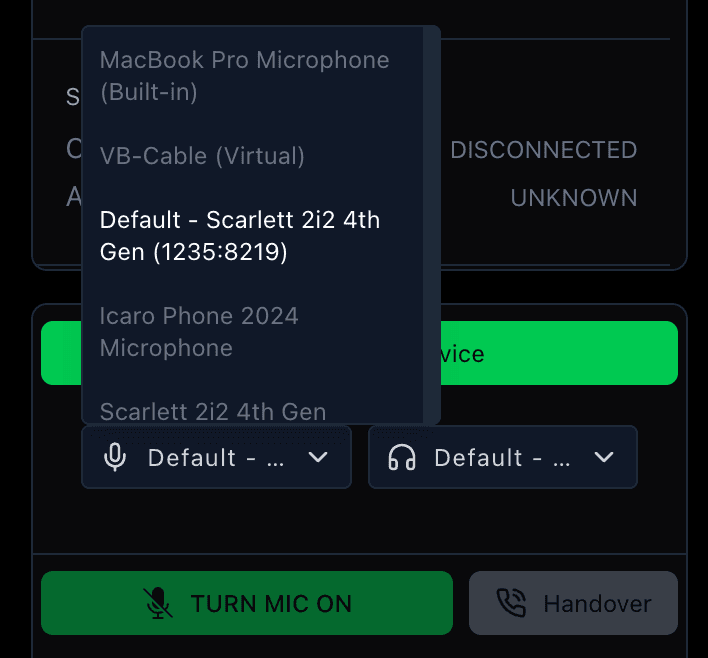
Select your audio input
- Use the Audio Device dropdown to select your USB mic or built-in input.
- Speak at a natural volume and watch the input meter. Aim for strong signal levels that stay below red to avoid clipping.
-
Start streaming
- Click Connect Audio. If the event hasn't started yet, click Start Event.
- Listeners can now view live captions or hear AI-generated audio in their preferred language.
✅ Tips & Best Practices
- Minimize noise – Choose a quiet space. Close doors and windows, and turn off fans or AC if possible.
- Mic placement – Keep the mic 15–30 cm (6–12 in) from your mouth, slightly off-center. Use a pop filter if available.
- Run a sound check – Join as a listener on another device to verify volume and clarity.
- Use stable internet – Preferably wired Ethernet, or sit close to your router.
- Stay powered – Keep your device plugged in during long sessions to avoid battery issues.
🖼️ Visual Aids
📸 Streamer Input Selection
📸 Sample Setup
🛠 Troubleshooting / FAQs
| Issue | Possible Cause | Solution |
|---|---|---|
| No audio detected | Mic not selected or browser blocked access | Choose the correct input in the dropdown. Click the lock icon in your browser’s address bar to allow microphone access. |
| Low or muffled sound | Mic too far or input too low | Move mic closer, increase system input level, or switch to a headset mic. |
| Echo or feedback | Speakers feeding into mic | Use headphones. Turn off laptop speakers to prevent feedback. |
| Streaming stops when browser closes | Browser-based streamer shuts down | Use the Desktop Agent, which continues streaming even if the browser closes. |
🔗 Related Articles
- 🎛 Testing & Troubleshooting Audio
- 💻 Desktop Agent Setup
- 🎚 Managing AV Channels & Inputs – For advanced multi-source setups