📅 Your First Event: Step‑by‑Step
Learn how to create, configure, and manage your live sessions or events.
- Author
- by Admin User
- a year ago
🚀 Overview
Starting a multilingual event with InterScribe takes just a few minutes — no technical expertise required. This guide walks you through the essential steps to go live with captions, translations, and voice interpretation.
🏁 Before You Start: Make sure you have an InterScribe account and streaming hours. See Platform Requirements for setup tips.
🧭 Quick Setup Guide
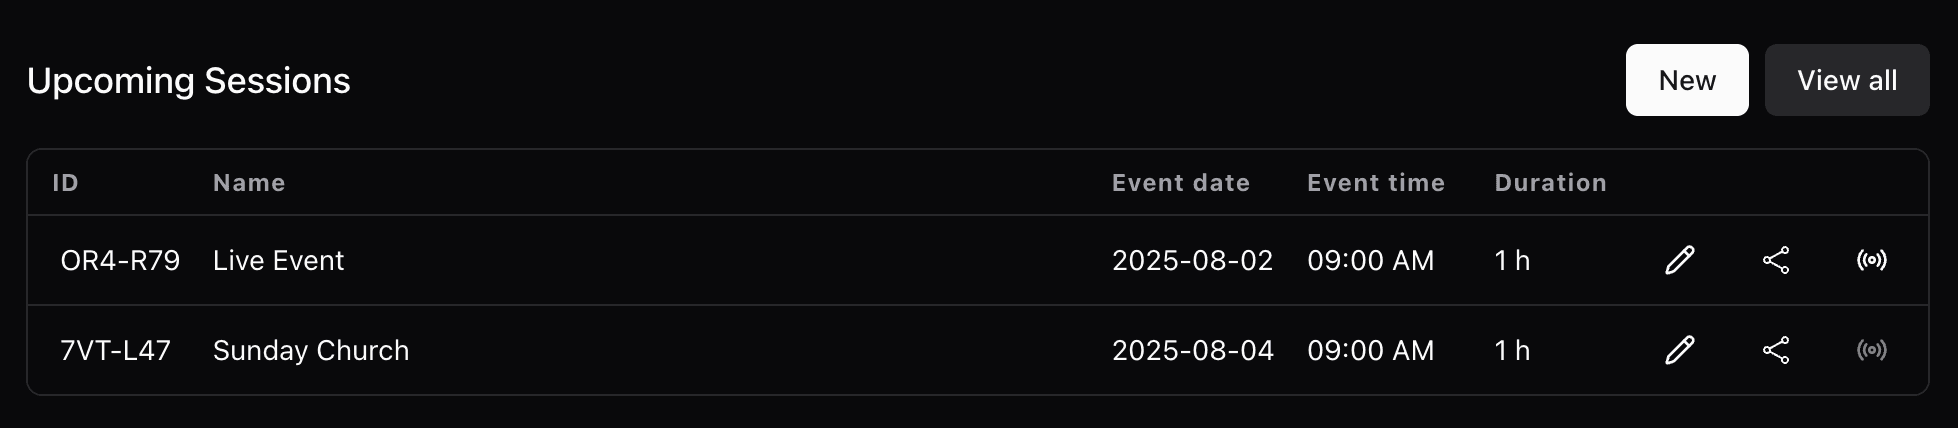
1. Create a Session
Log in and click New Session from your dashboard.
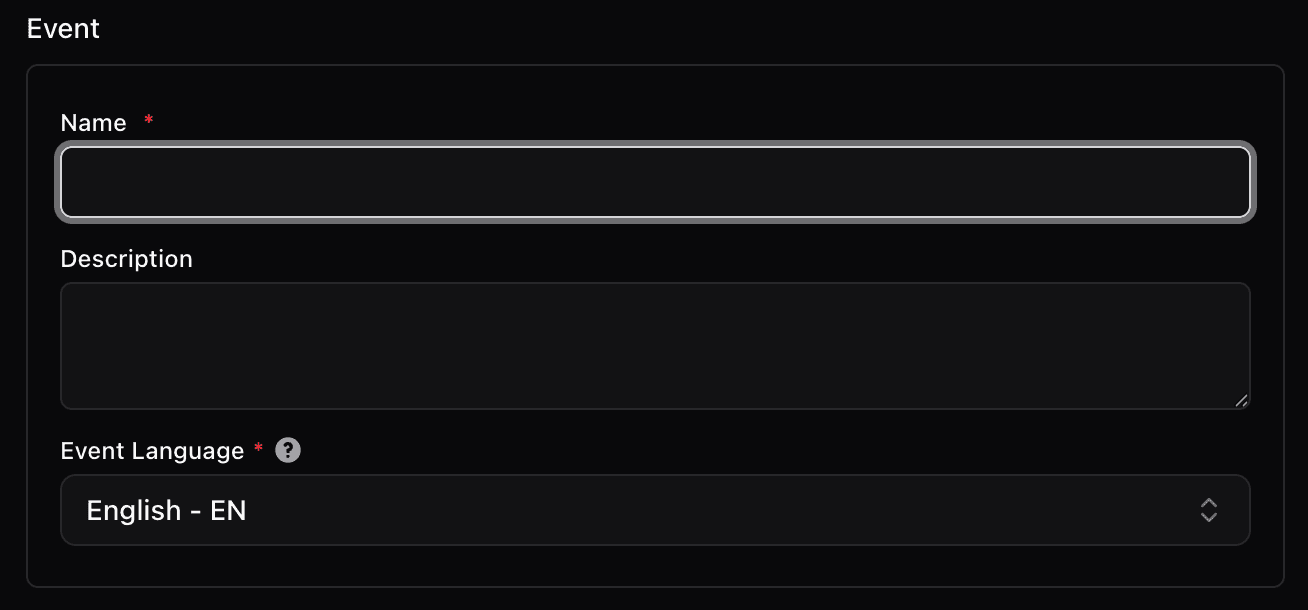
2. Fill In the Basics
- Add a Title and (optional) Description
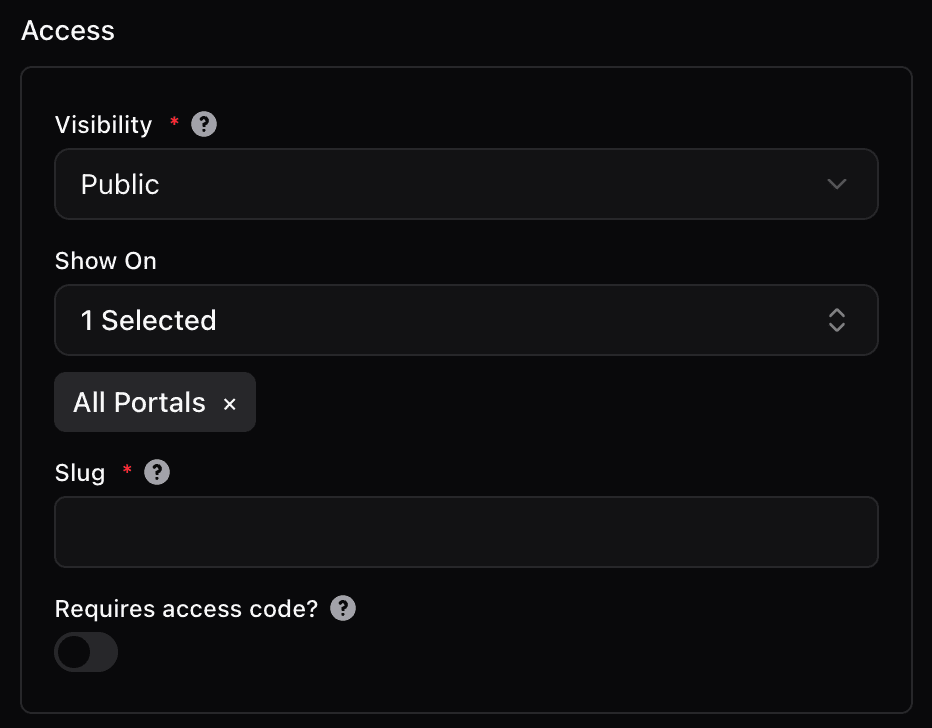
- Choose your Session Visibility (Public or Private)
3. Schedule Your Time
Set your event time — or mark it as recurring.
4. Choose Audio Input
Select how you’ll send your audio:
- Streamer Dashboard
- Web Agent
- Desktop Agent
- Mobile Device
- RTMP/SRT/WHIP for advanced setups
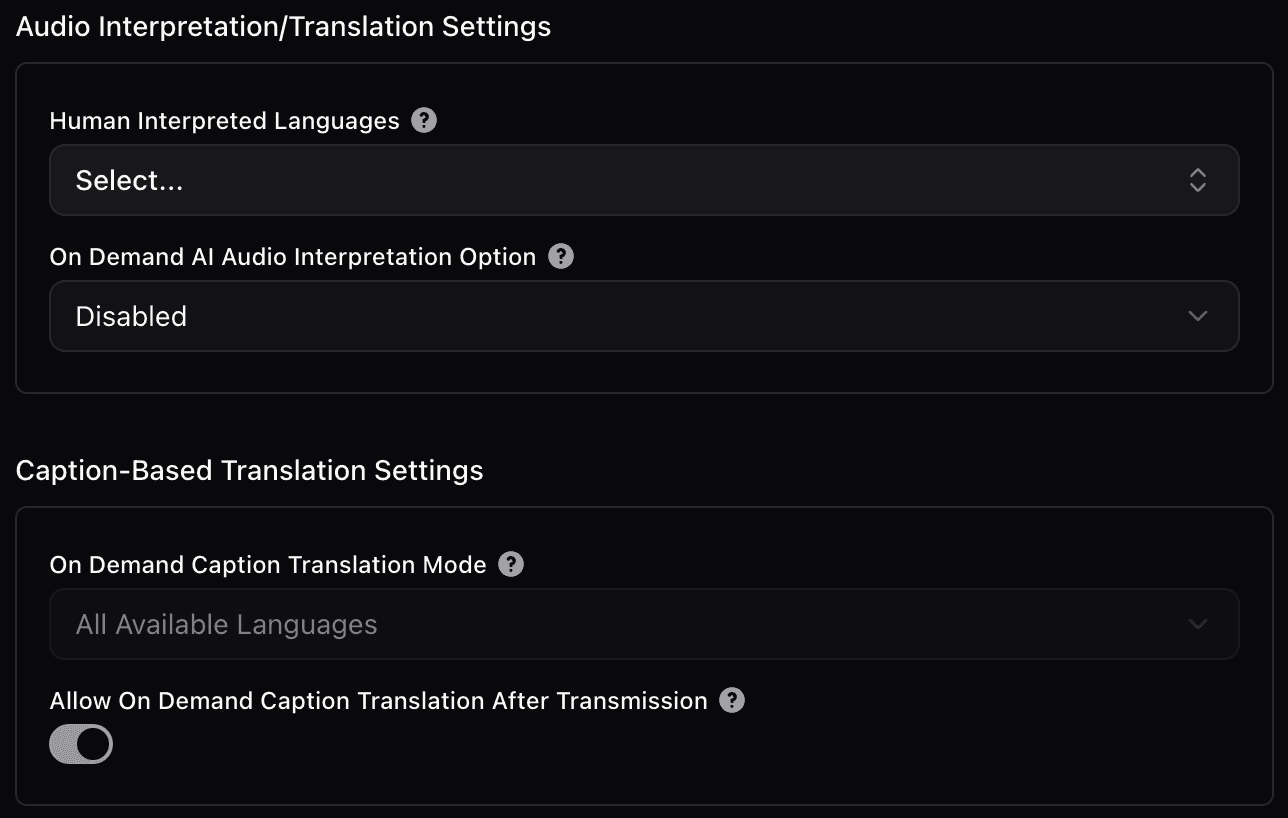
5. Configure AI Voice and Intepretation preferences
- Captions are enabled by default
- Add AI voice interpretation or assign human interpreters if needed
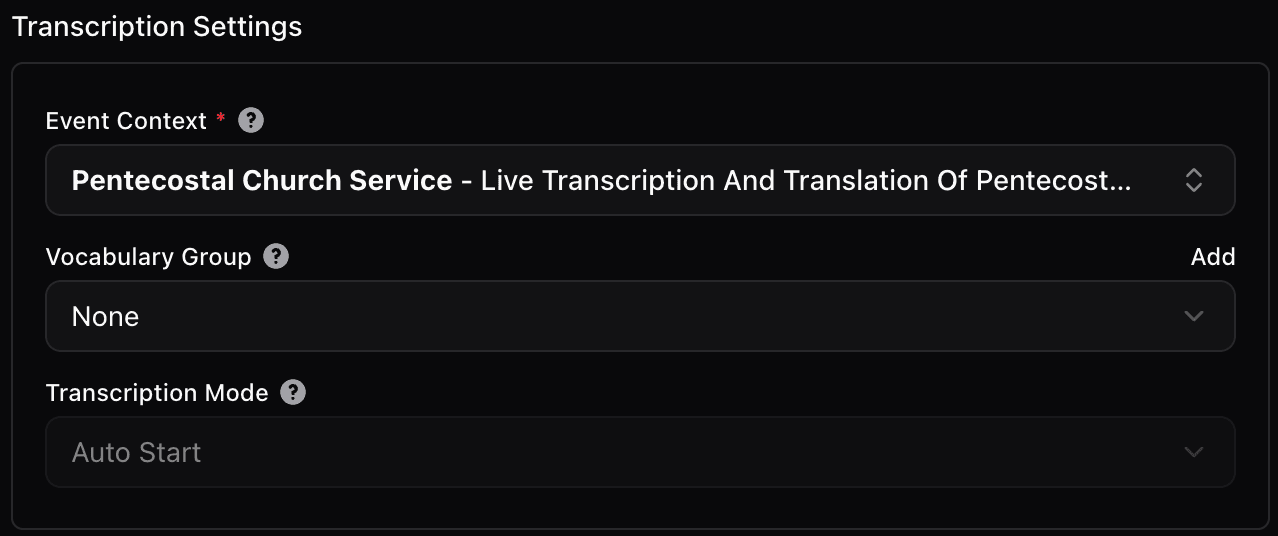
6. (Optional) Add Context
Improve translation accuracy with glossary terms or session context.
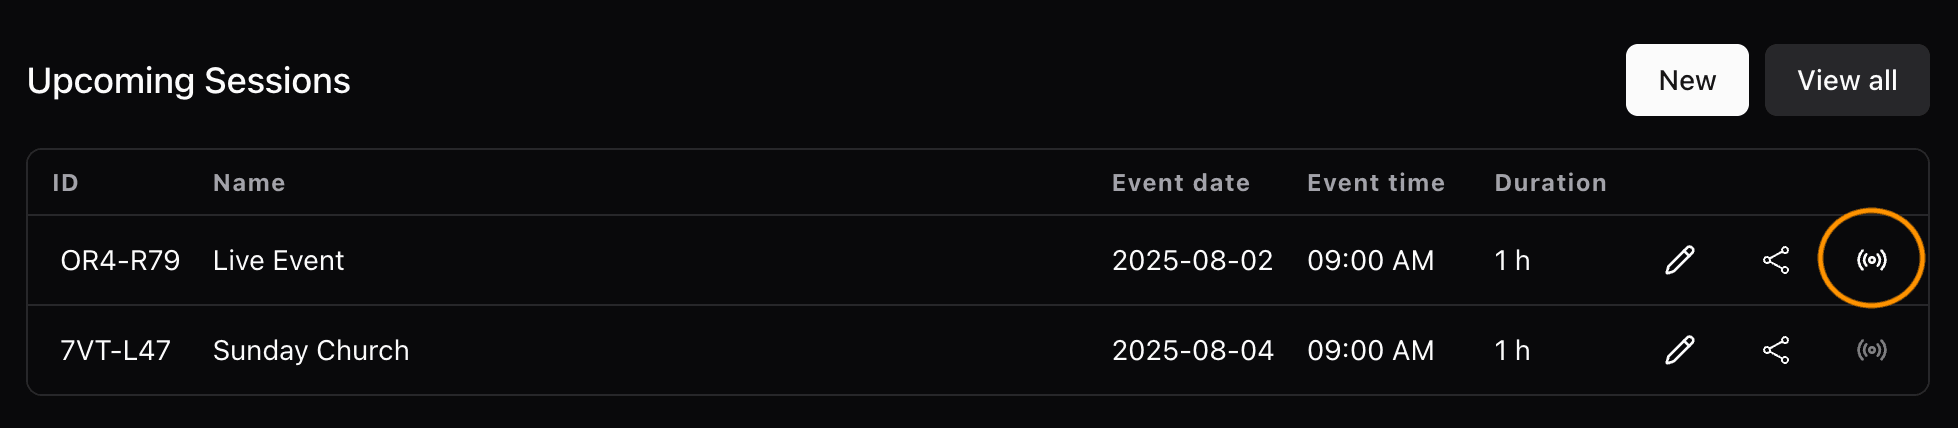
7. Go Live 🎙
- Click the Streamer icon
- Select your input device
- Press Start Streaming
8. 🎉 You’re Live!
Attendees can join via QR code, link, or your public portal — read captions, listen to interpretation, and follow along in their language.
💡 Tips
- Test your audio before going live
- Use Rooms for consistent QR codes
- Try a recurring session for weekly events
- Want more control? See Creating & Editing Sessions